How It Works
formerly GEN2MODULITH is a storage system you 3D print. Printed cases click together into a unit of drawers and shelves, and you can add to it or rearrange it later.
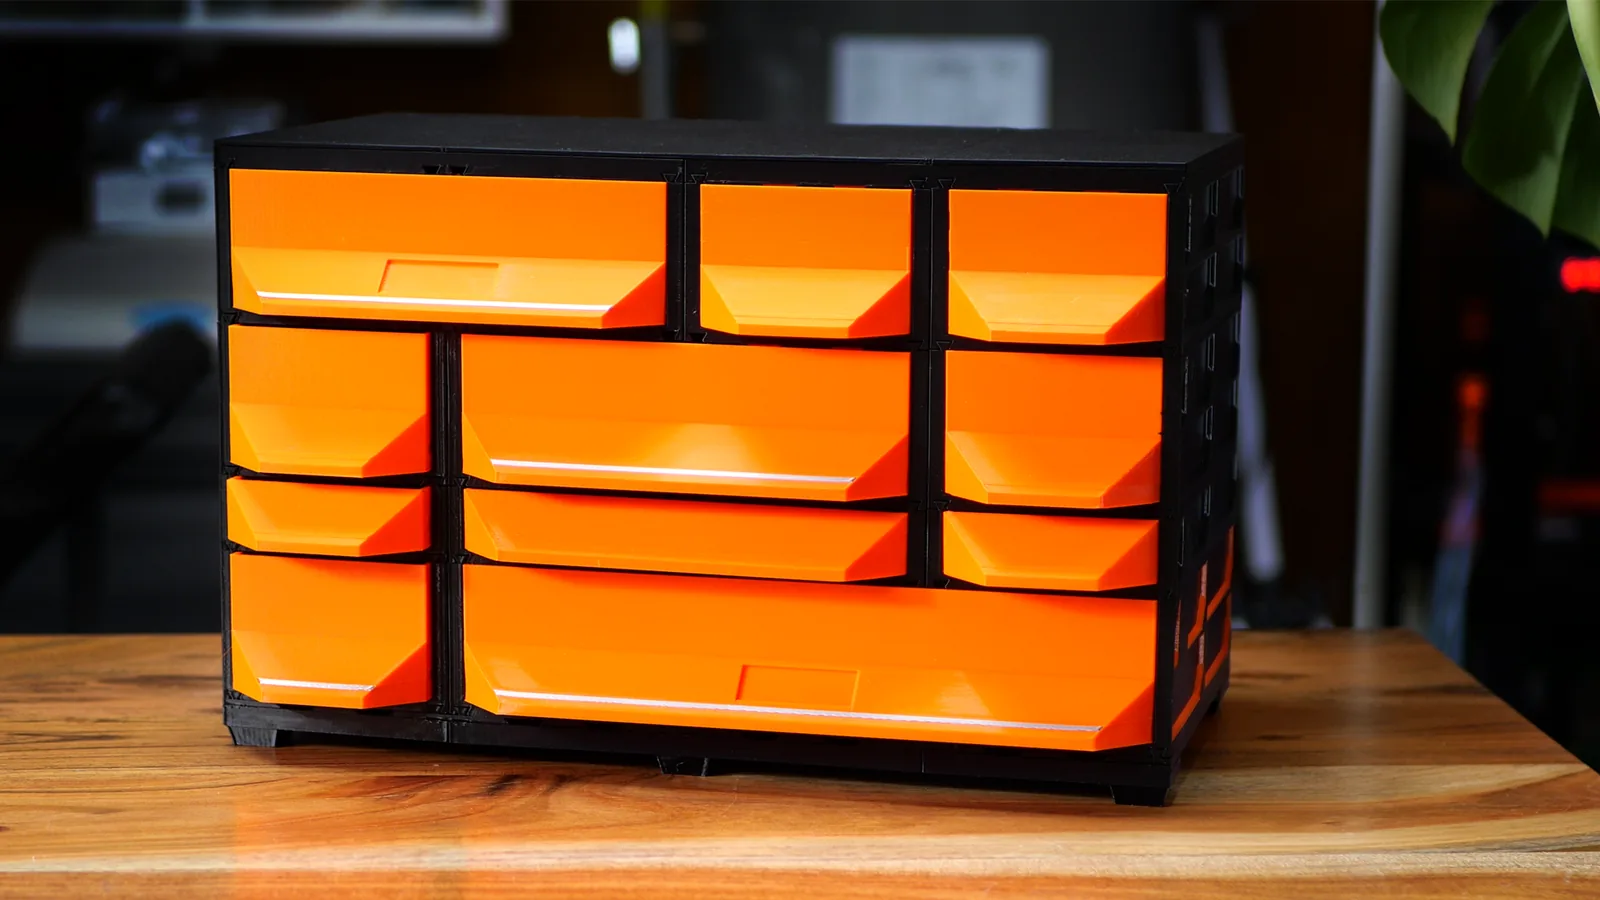
How it goes together
Shown with the 185 Tabletop Kit.
-
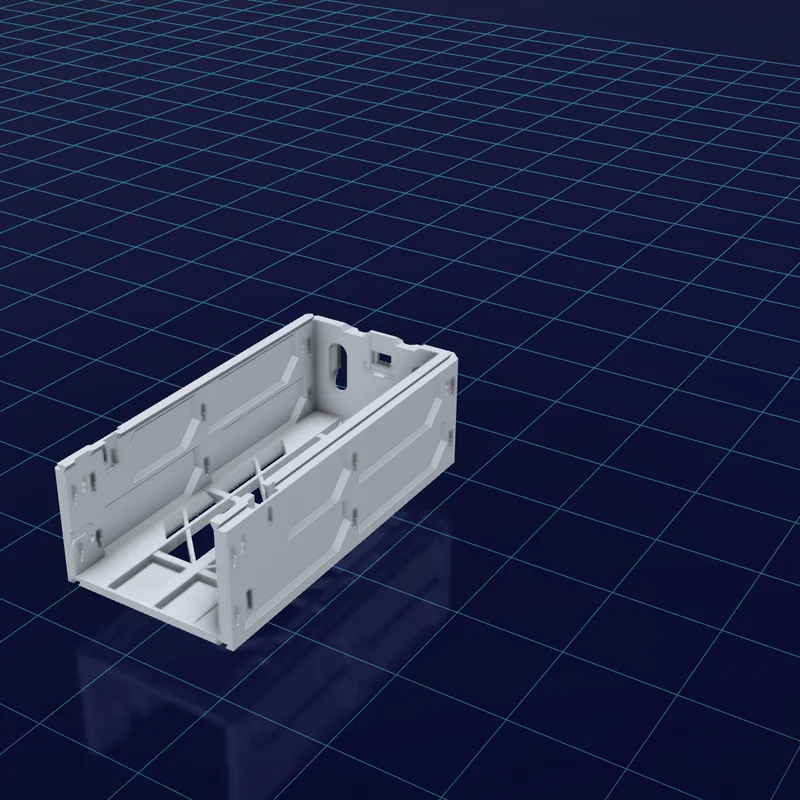
1 Print the cases. Each one is an open box that holds a drawer or a shelf.
-
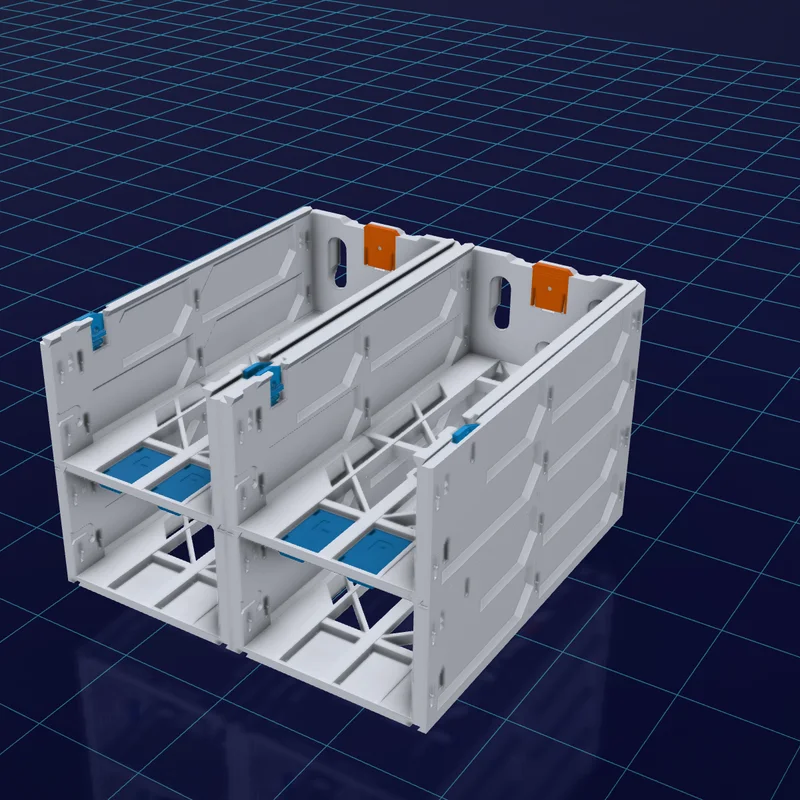
2 Click them together with QuickLocks, side by side and stacked. No screws between cases.
-
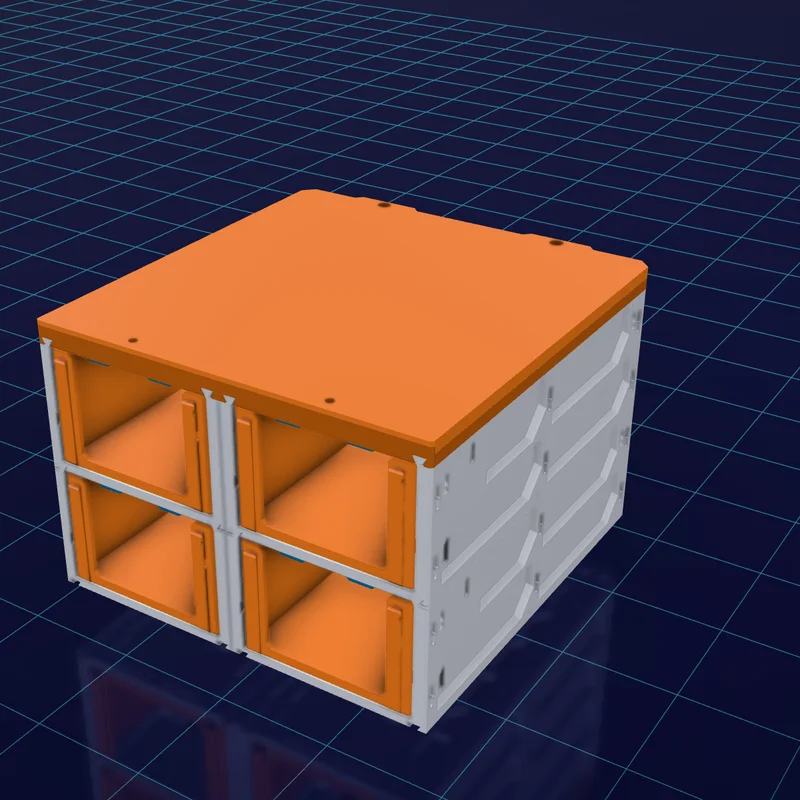
3 Slide in the drawers, or fit a shelf instead.
-
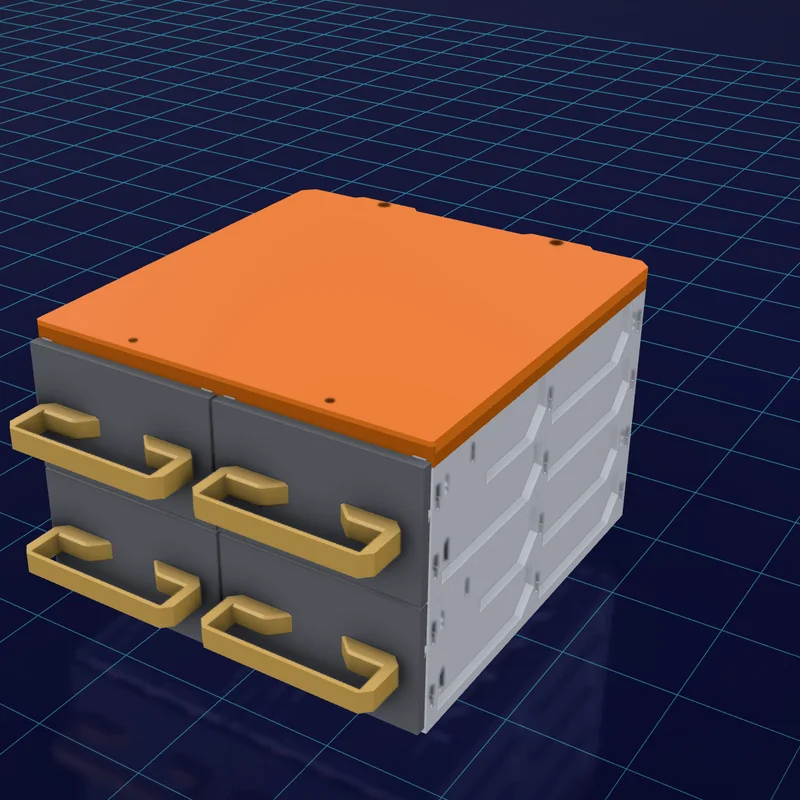
Optional Change the front if you like. Decor drawers take swappable faceplates and handles.
How cases connect
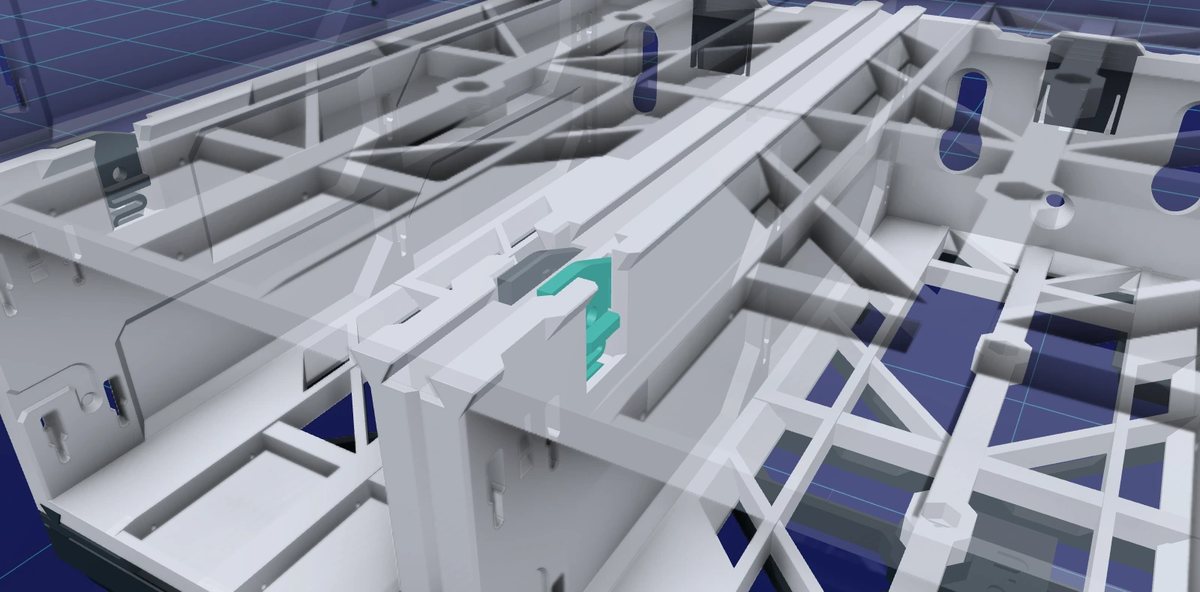
A printed QuickLock joins each case to the next. Slide a case on and it clicks into place. Press the tab and it slides off again, so you can rearrange a build whenever you like.
Where it lives
The same cases stand on a desk, hang under one, or mount on a wall.
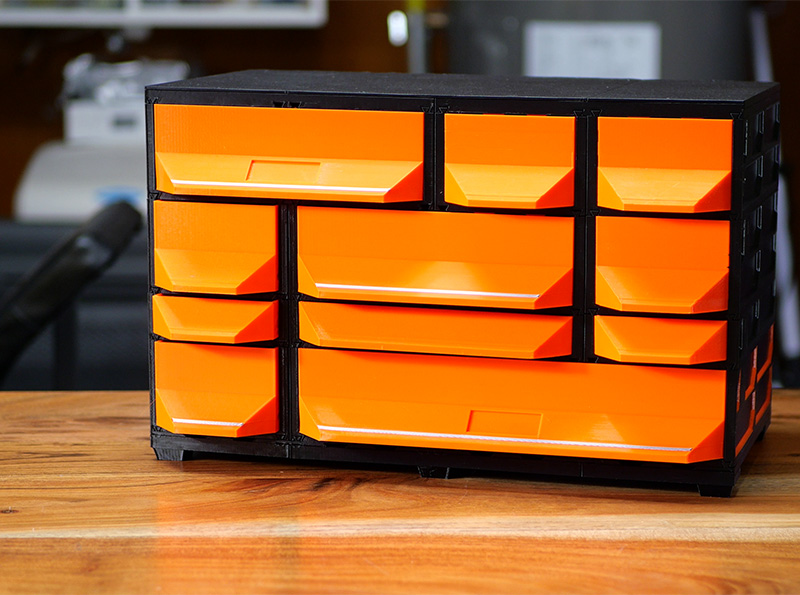
A freestanding, self-contained unit on its own feet.
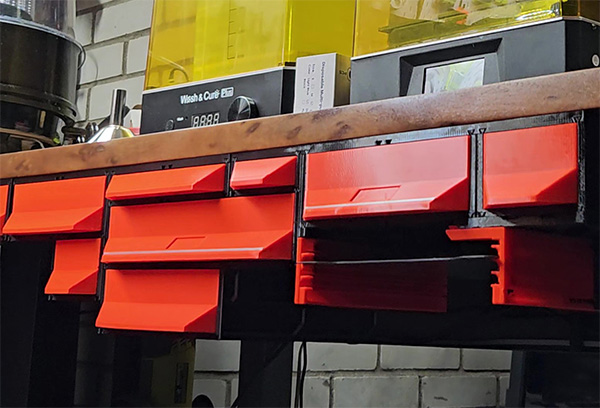
Hung beneath a desk, shelf or work surface.
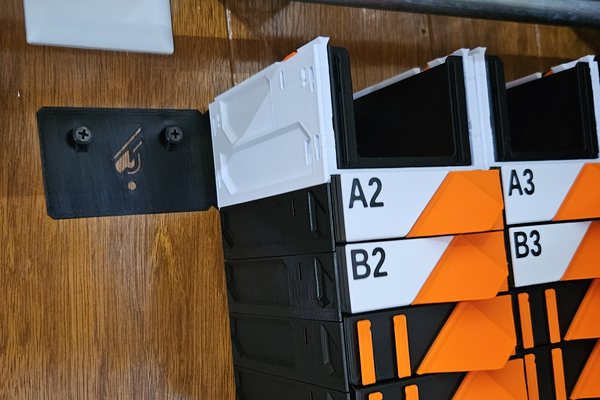
Fixed to a wall on a bracket, with rows hanging below.
Drawers or open shelves
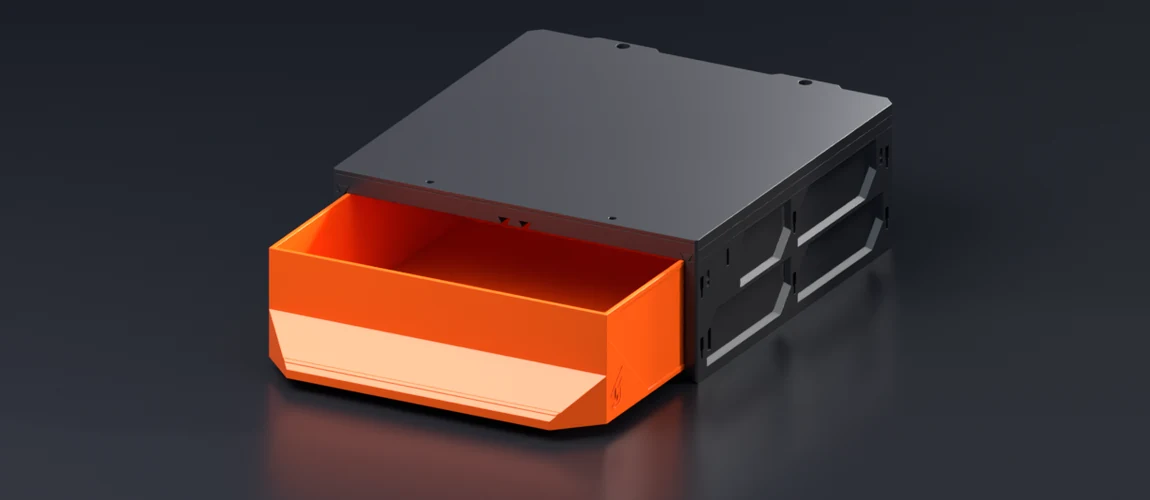 Classic drawer
The grip is printed into the front. Nothing else to add.
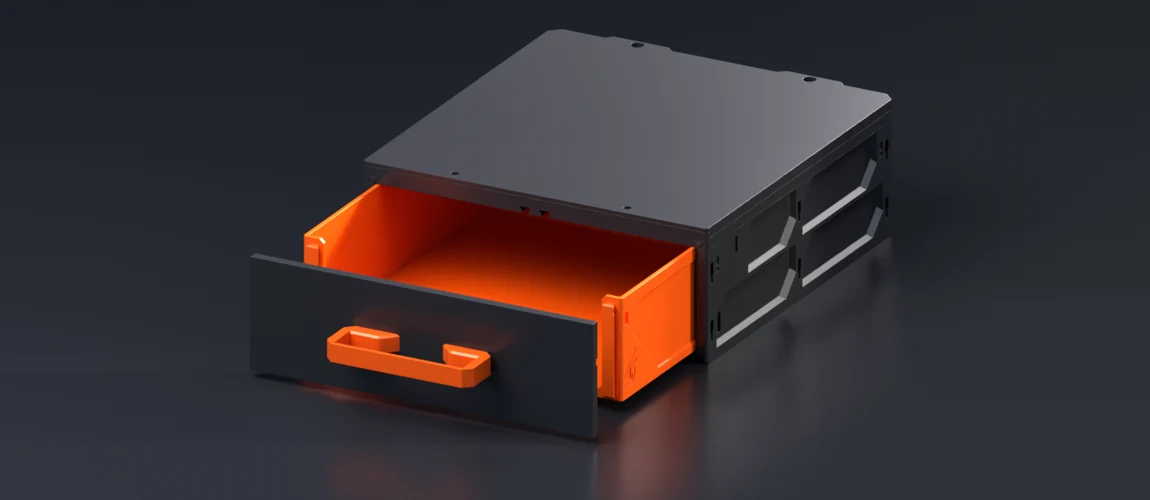 Decor drawer
A flat front for a faceplate and handle, so you can change the look without reprinting the drawer.
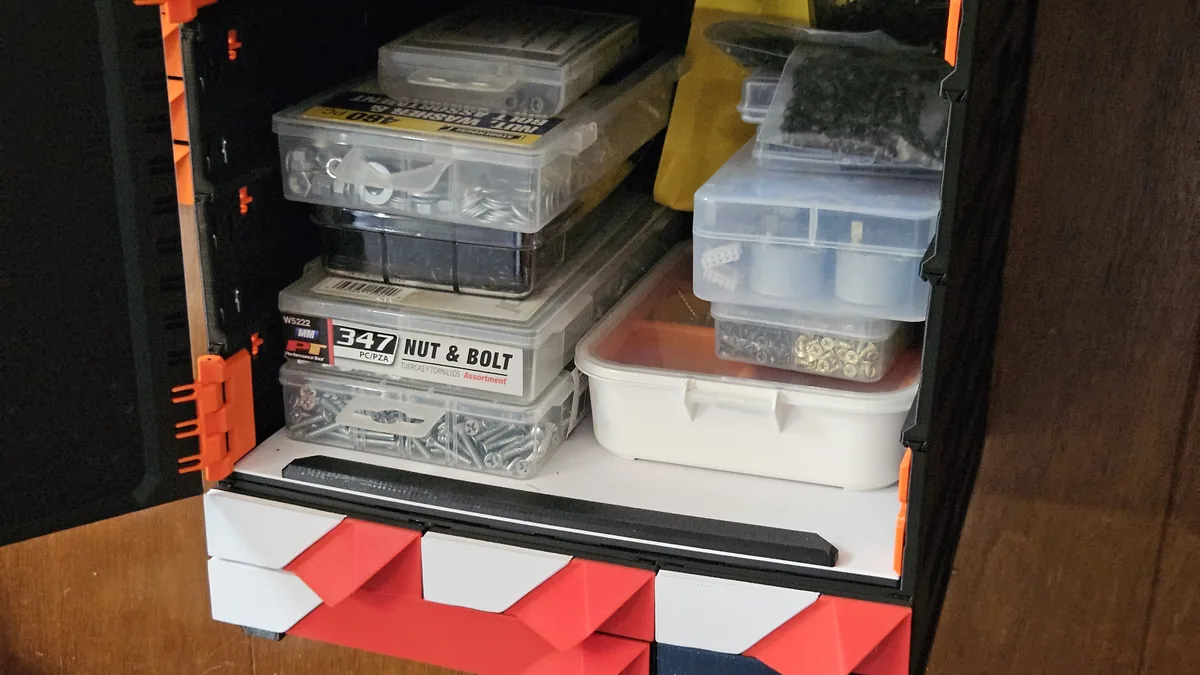 Open shelf
A Shelf Insert takes the place of a drawer. An optional lip along the front keeps things in.
Cases, drawers, shelves and the Planner are free. Some decorative faceplates are paid Club designs.
Sizes
Available in six depths, from shallow parts storage to deeper tool drawers. A Starter Build gives you a ready-to-print starting point, or compare sizes in the Size guide.
Where to start
Start with a Starter Build
Every file listed, the hardware counted, and a guided 3D assembly. The easiest way to your first build.
Browse Starter Builds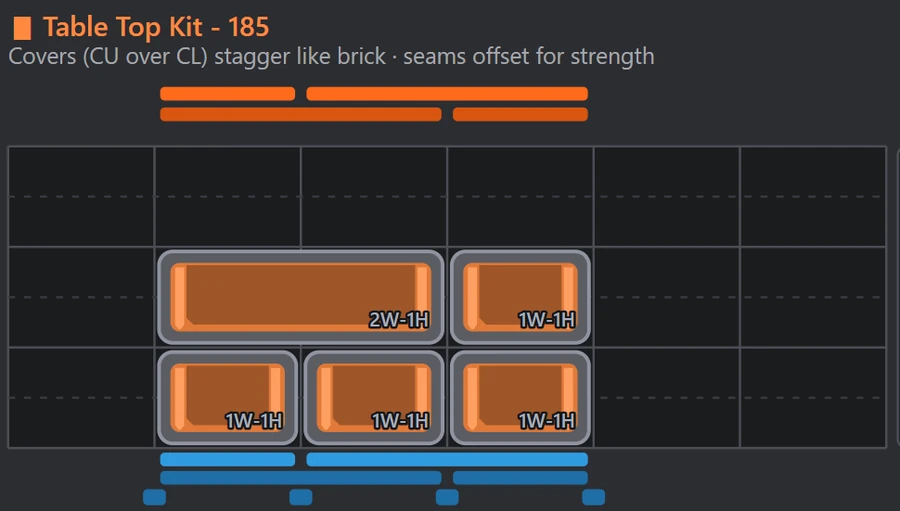 Design your own
The free Planner lays your build out on your printer's bed and lists every file it needs.
Open the PlannerMeasurements and what fits with what are in the Size guide. Building now? The assembly instructions cover all three mounts step by step.