Creating labels
Every EdgeLabel and Classic Pro drawer front takes a swappable printed label. The MODULITH Label Studio is the fast path; the slicer path makes anything you can type or draw.
Sizes: W is width (1W = 88 mm) and H is height (1H = 56 mm, 0.5H is half of that). The collection number - 115, 185, 240 - is the case depth in mm.
No printer time to spare?
A label maker works too - the label area is a flat face on both series. The printed label is the option that matches the front and swaps with the contents.
What you'll need
Quantities depend on your layout - the Planner works them out for your build, and every official kit lists them exactly.
- EdgeLabel FaceplatesA faceplate with a label window
- Classic Pro FaceplatesOr one with a label slope and accent
- Decor Drawerschoose your collectionThe drawer either plate mounts on
The fast path: the MODULITH Label Studio
Open the MODULITH Label Studio, pick the label type that matches your faceplate series, type your labels or add them from the Part Picker, then download the print file and print. It runs in the browser and gives print-ready files sized for the label window.
MODULITH Label Studio (EdgeLabel and Classic Pro) · the original Classic Pro generator still works - label blanks also ship inside each faceplate series download.
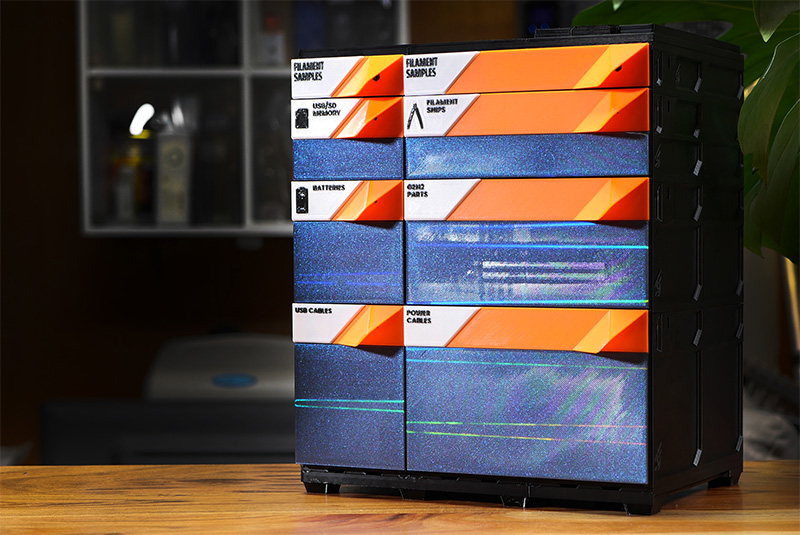 EdgeLabel - the label rides in its angled window
Make your own: add text in the slicer
Load a label blank, then add a text object on its face. PrusaSlicer: right-click the label in the object list (Advanced mode) and choose Add part, then Text. Bambu Studio: select the label and use the Text tool at the top of the screen.
The text object sits on the raised face of the blank.
One color or several
Multi-material printer (MMU, AMS): assign the text its own color and print. Single-color printer: slice the label, drag the layer slider down to the first layer where the text begins, and add a color change there - PrusaSlicer with the +, Bambu Studio by right-clicking the + to add a pause. Swap filament when the printer stops.
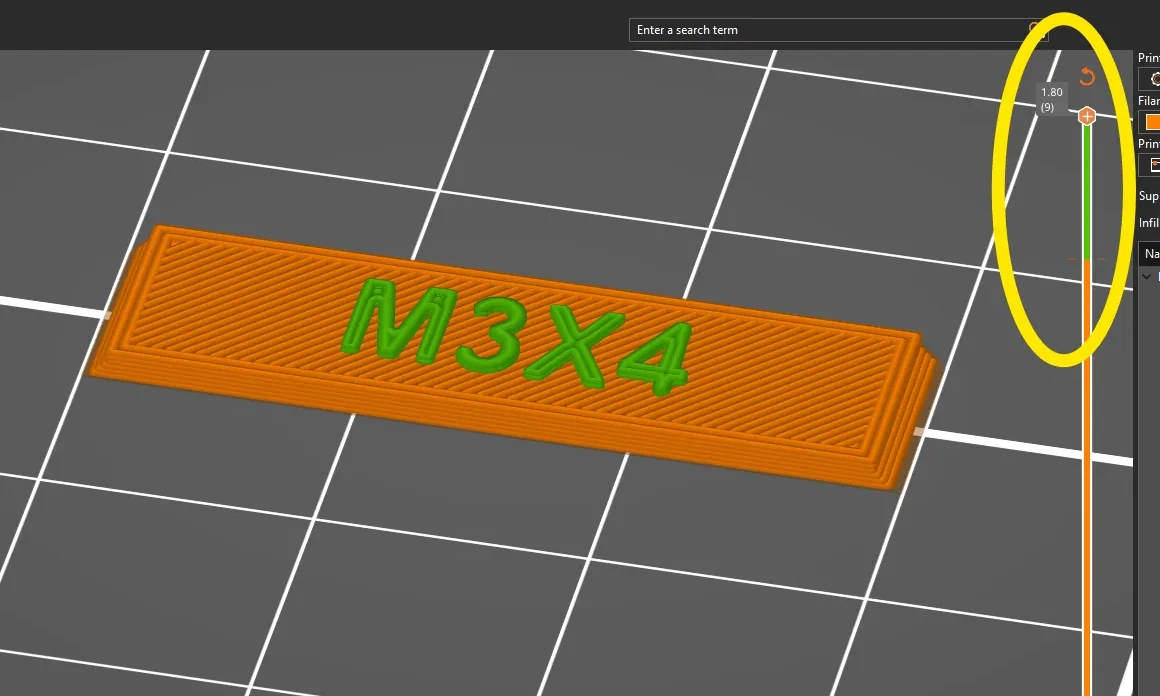 Slicer preview · the color change sits at the first text layer
Keep it readable
Bold beats thin: if strokes print broken or faint, switch to a bolder variant of the font. Turning on Arachne in the slicer helps thin font sections print.
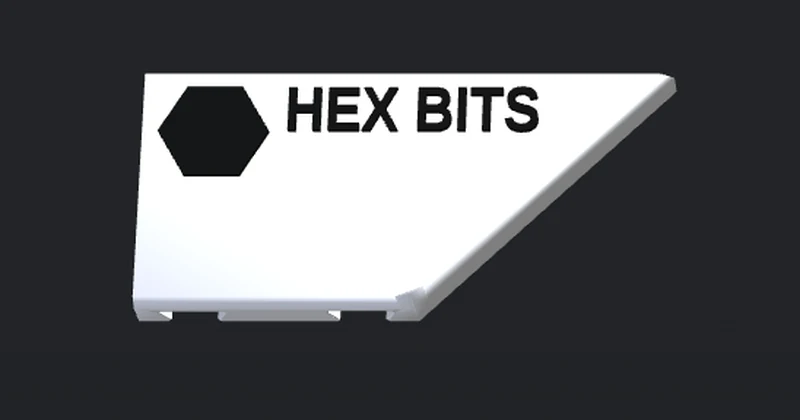
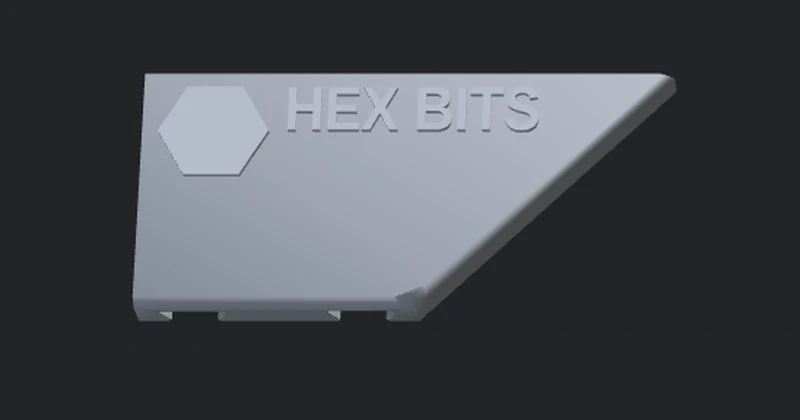
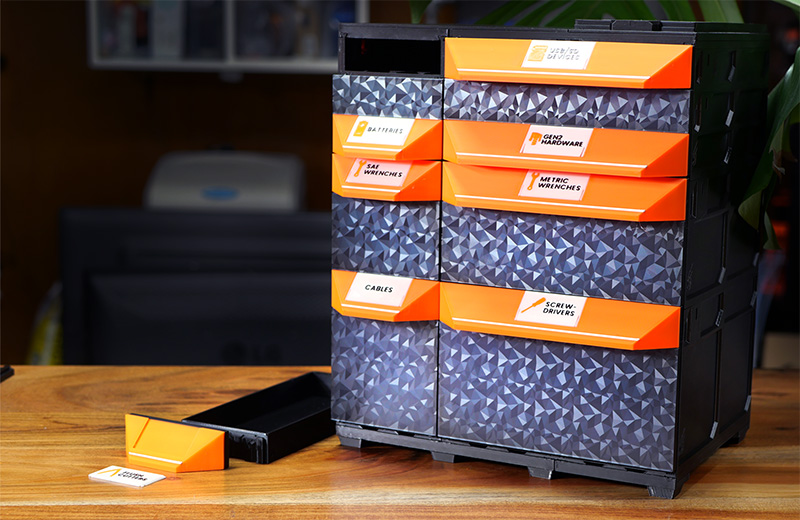 Photo · Classic Pro, the label lies on the grip slope
Fit it, swap it
EdgeLabel: slide the label into its window. Classic Pro: press the accent panel into the face and lay the label onto the grip slope. Both come out again the same way, so a relabel is a minute, not a reprint.
Attaching the plates themselves is Decor fronts and handles.
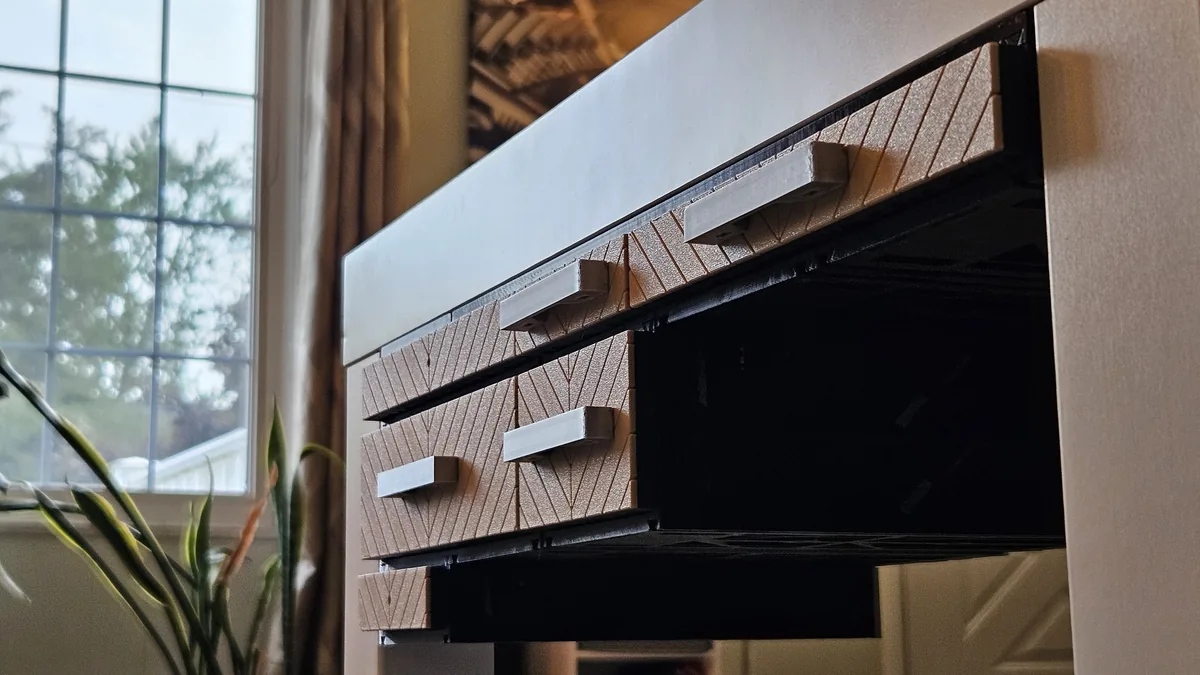 Photo · labeled fronts in a build